

Announcements
-
Similar Content
-
-
Latest Posts
-
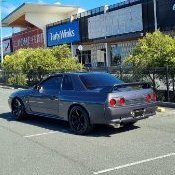
 Meh, just saw the Nissan badge on the plenum on the thumbnail and presumed it wasn't as nasty a fake up as the paintjob.
 -

-
It's most likely a 25, has vct and alloy cas, only 20 neo has vct but would have plastic cas
-

By TurboTapin · Posted
I ended up looking into this and you're absolutely right. The sport models with Syncro Rev Match(SRM) have a gear position sensor. -
By TurboTapin · Posted
Thank you both for confirming! Happy I caught that before the dyno. I've put ~800kms on the new engine since, just street tuning it. Luckily it didn't skip a tooth. I only had about an hour tonight to work on it after my daughter fell asleep but I just have the pulley and lower cover left to remove. 340ftlb torqued pulley bolt came off much easier then expected.. Tensioner was new and seems fine. I had originally tightened it as per manual (2 full turns on spring then tighten). I'll give that another go hopefully tomorrow night if I have the pulley off by then.
-


Recommended Posts
Create an account or sign in to comment
You need to be a member in order to leave a comment
Create an account
Sign up for a new account in our community. It's easy!
Register a new accountSign in
Already have an account? Sign in here.
Sign In Now